Meng for Mojo, take twice daily: Rolls Royce Armoured Car
In this edition:
>Meng for Mojo
>Thoughts on the kit
>Building the kit
I like Meng kits. I built their Whippet, it was great. I’ve had the Rolls Royce Armoured Car (RRAC) sitting on a shelf for a little while after swapping it for a couple of battered old Italiari tanks. I have been putting off starting it because I’ve got an idea for a diorama in mind and I haven’t felt ready to make a start on a project that would take so much work. Then the other day I was feeling a bit down, wasn’t enthusiastic about any of the kits in my stash or indeed anything I saw online and was generally having a bit of a mojo failure. It didn’t help that the diorama I’m working on for the Firefly has stalled while I wait for parts and is stuck in that stage where it looks ugly and as though it’s never going to come together (I know it will but still, it’s not where I want it to be). Anyway, whilst wondering about what to do next I spotted this fantastic thread on Britmodeller (https://www.britmodeller.com/forums/index.php?/topic/235052137-rolls-royce-armoured-car/) and thought it was time to have a go.

Time to look at what the kit offers. Meng claim that this kit builds into a 1914 or 1920 pattern RRAC and it does come with wheels with PE wire spokes to build into the First World War style vehicle. Unfortunately several major details are incorrect for this; the turret is too tall, the vision slits for the driver are offset, both of which were features of later models. Out of the box the only correct option is a very late vehicle which has the option of either RAF markings or early WW2 Caunter, both of which would look absolutely fantastic and have lots of scope for exciting painting techniques and weathering. I was considering these when I saw a picture of an RRAC of the North Irish Horse in early 1941 posted on Twitter. I’ve a bit of a soft spot for ‘The Horse’, they were a squadron of my regiment when I first joined (they are now a part of the SNIY) and were a fantastic bunch. Combine this with the challenge of painting a decent early war British camo scheme and I couldn’t resist. This did mean a couple of sacrifices; firstly the wheels are incorrect and so I had to buy some resin ones from Germany, these are from Djiti’s productions and cost about £10 from MBK (and boy am I glad I ordered them pre-Brexit).The other issue is the light fittings which aren’t quite right. I can’t find any after-market equivalents and I don’t trust myself to make them from scratch so I may have to take a hit on accuracy here. Beyond that I’m happy with what the kit has to offer although with a little more scratch building skill you could bring it up to scratch properly.

Chassis details 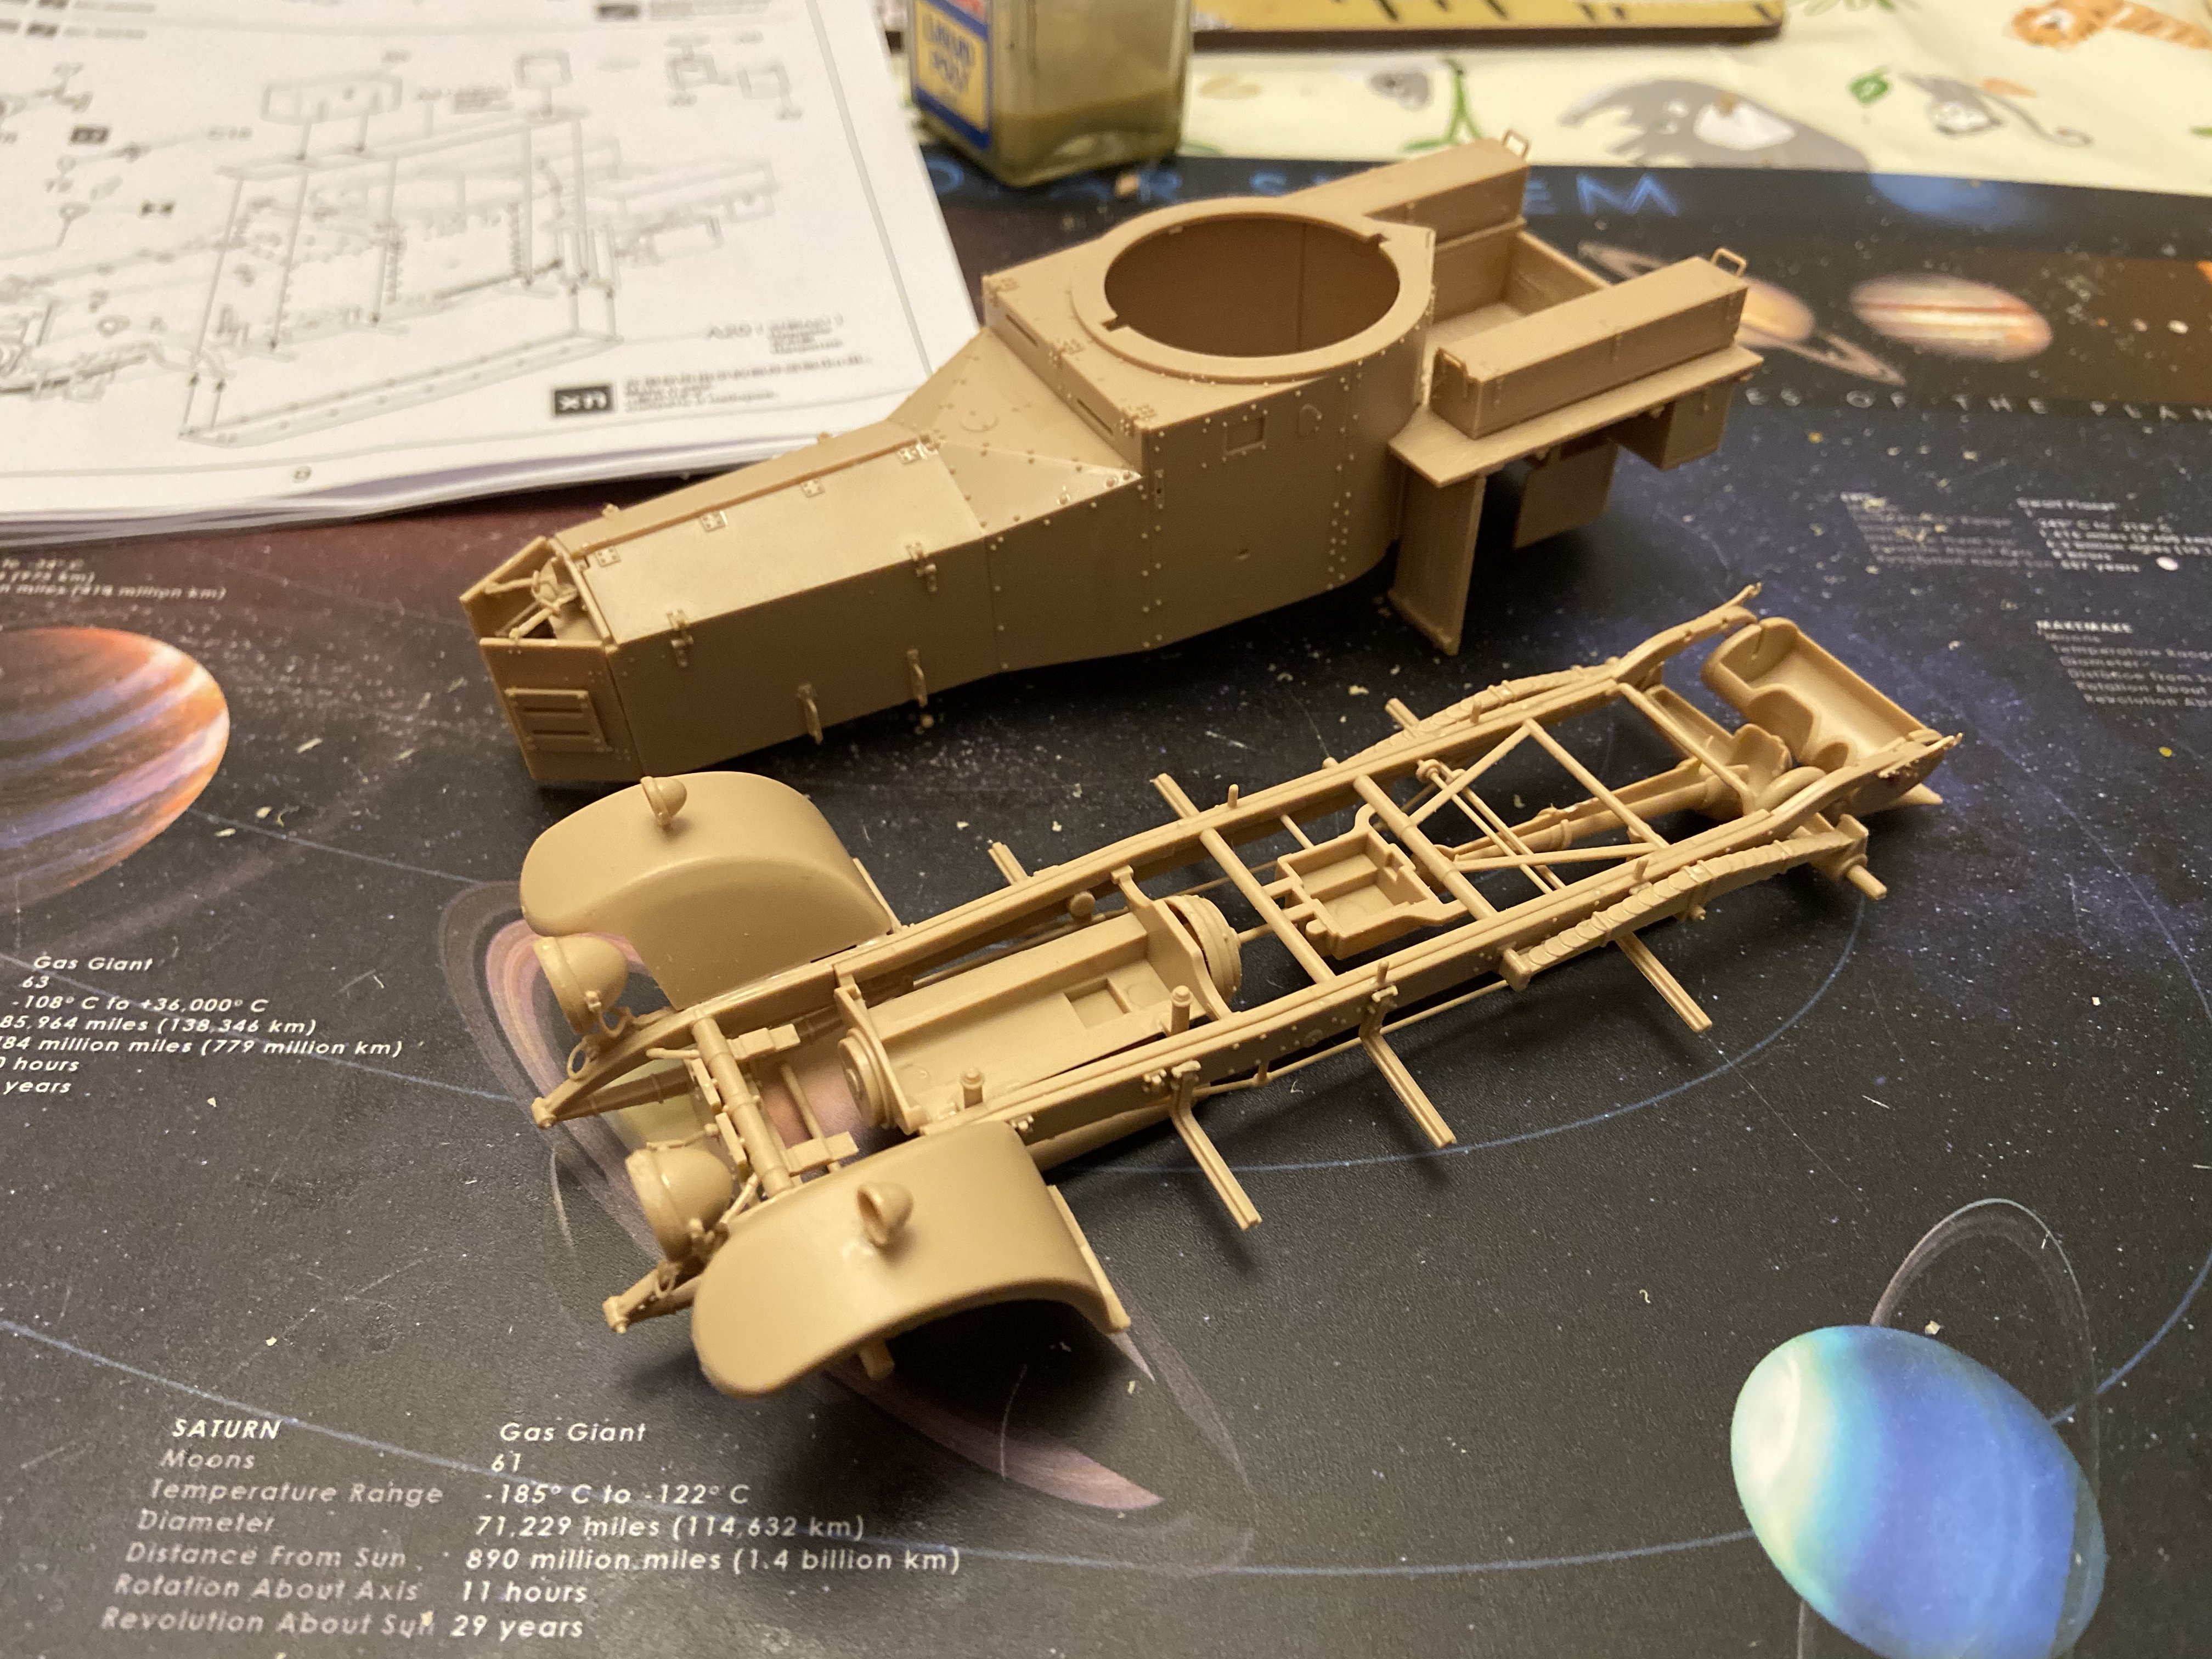
Body and chassis done
I built this kit in 3 short evening sessions, mostly on the dining room table (you’ll have to excuse my daughters solar system mat in the background of the pictures) with a total build time of under 6 hours. The instructions are excellent which makes everything fairly simple, even the parts you need to weave under and over each other on the chassis. For some reason during the build I became fixated on the question of how to paint the chassis, there is a large exhaust pipe which should be a little rusty while other parts are in the body colour or an iron brown shade (if you look closely at the RRAC at Bovington you can see the suspension springs are brown whilst most of the rest of the suspension is in that lovely glossy green paint). I decided to try to build the chassis and body separately in order to make painting the details of the chassis easier, this went pretty much to plan although it did make working out which piece went where a little more complex. Now that I look at it I think I was probably overcomplicating the build but it’s something to consider if you really care about the chassis. The only other parts that needed a little bit of fettling were the doors at the front of the engine, I wanted mine open but it was a struggle to get them to hang in place without the arms at the top (used to open and close them on the real vehicle) pulling them up so the bottom hinges came away from the body. This is not a major problem, just have something to read on hand whilst you hold them in place.

A texture on the planking, the boxes were still a work in progress at this point 
Ready to prime
Overall this was a fantastic build, the fact I have so little to say is a real tribute to Meng’s engineering and attention to detail. Personally I think it was worth the money even though it isn’t possible to build an accurate WW1 vehicle without significant modification and scratch building. As I said at the beginning, this has been an outstanding ‘mojo build’, hugely satisfying without a huge amount of effort required. Hopefully my next post will be about painting the vehicle along with some information on early war British camouflage schemes.
